아래는 유니티 튜토리얼 링크.
https://youtu.be/IlKaB1etrik
1) Main screen
메인 화면

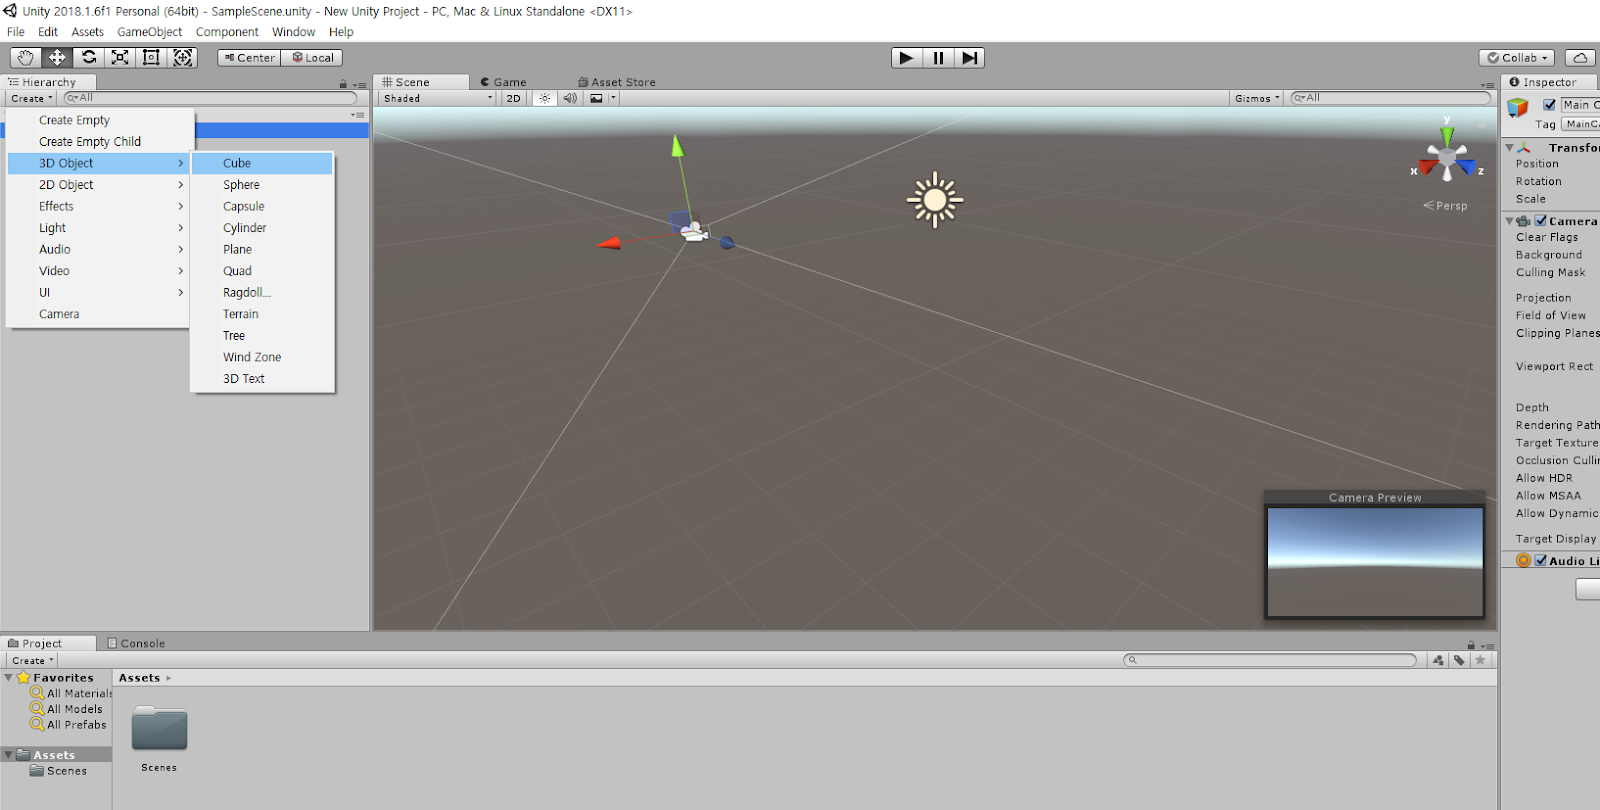
2) Making Cube.
큐브 모양 만들기.
3) Widening Cube and naming it Ground.
큐브 넓히고 Ground라고 이름 붙이기.

4) Asset area, right-click - Create -Material. Then, the Cube can be colored.
Asset 부분에서 우클릭, Create-Material 누르면 큐브에 색 넣기 가능.

5) Just drag material to the Cube to apply. (Right circle : Menu you can choose a color.)
드래그해서 큐브에 material 적용 할 수 있다. (오른쪽 동그라미 : 색 고를 수 있는 메뉴.)

6) How to apply gravity : Click the Cube - Add Component - Physics - Rigidbody
중력 적용하는 법 : 큐브 클릭 - Add Component - Physics - Rigidbody
* rigid body : 물리학 용어. 강체. 여러 중력이나 다른 속성 적용 가능한 메뉴.

7) Press ▶ button, then you can see the falling Cube.
▶ 모양 버튼을 누르면, 큐브가 떨어지는 걸 볼 수 있다.
8) You can switch the lined menu to push the button Q, W, E, R, T, Y in sequence.
줄쳐친 메뉴를 Q, W, E, R, T, Y 키를 순서대로 누르면 바꿀 수 있다.

9) In this case, press E, and I'm gonna turn the Cube. Press ▶, the Cube is spinning and falling.
이번 경우에는, E를 눌러서 큐브를 돌릴 것이다. ▶ 버튼 누르면, 큐브가 돌면서 떨어진다.
10) ctrl+D : you can duplicate. And you can do this.
ctrl+D : 복사 가능. 이런 것도 할 수 있다.
11) Also, you can change the shape of the figure.
또, 도형 모양도 바꿀 수 있다.

11) Box Collider - right click - Remove Component.
And Add Component - Search 'sphere collider' - Enter. It changes the collider.
위에 적은 순서대로 해야 충돌박스가 구 형체로 바뀐다.

* I just realize something while I'm capturing screen. It takes time more than I expected. So from now on, I will describe my practice in words (maybe with some pictures).
캡쳐하면서 느낀건데, 시간이 생각보다 많이 걸린다. 앞으로는 글로 설명하겠음(가끔 그림 포함할 수도.)
댓글 없음:
댓글 쓰기